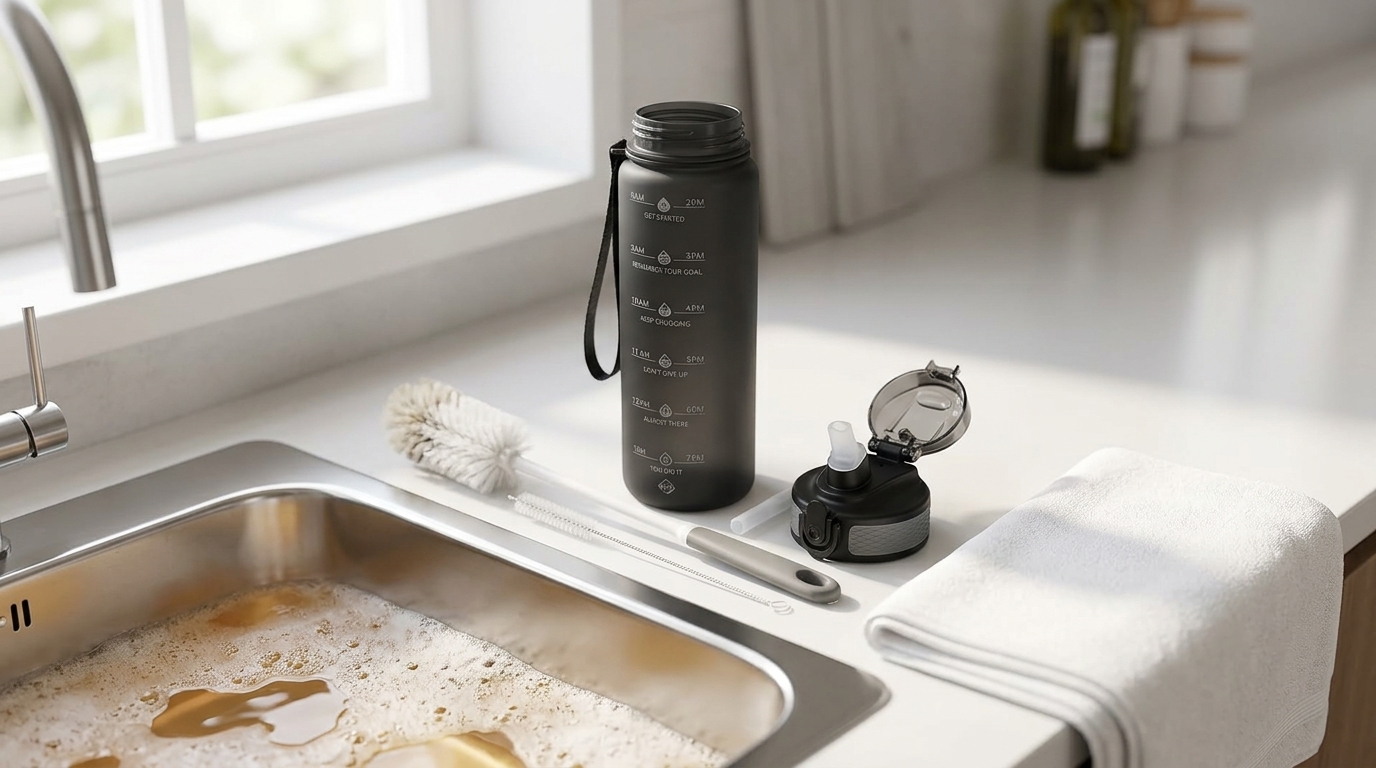
Straw bottles are convenient—and a little sneaky. The straw, bite valve, and tiny lid channels can hold onto moisture and residue, which is why “funk” can show up even when the bottle looks clean. The good news: you don’t need a complicated process. You need a repeatable routine that focuses on disassembly and fully drying.
Hyeta pick
A simple place to start
If you want a practical motivational water bottle with time markers, a straw lid, and a carry strap, compare the current Hyeta options before you choose a size.
This guide walks you through exactly how to clean a water bottle with straw using a simple daily wash and a weekly deep-clean. If you’re shopping for a leak-resistant straw bottle you can take anywhere, you can also check the Hyeta 32oz straw bottle on Amazon.
What to clean on a straw water bottle (don’t skip these parts)
To prevent odor and reduce the chance of mold growth, treat your straw bottle like a few separate items that all need attention:
- Bottle interior: the main chamber where residue can cling (especially with flavored drinks).
- Lid underside & lid channels: grooves, vents, and seams that trap moisture.
- Straw: the inside of the straw is the #1 “mystery smell” culprit.
- Bite valve / mouthpiece: gets the most contact; can hold film and odors.
- Gasket / O-ring: the soft seal that can hide residue and stay damp.
If you use a bottle like the Hyeta 32oz with a straw lid, it’s built for daily use—just remember that the convenience parts (straw + seals) need the most thorough cleaning. If you want to compare current Hyeta colors on Amazon, do that after you’ve nailed the routine below.
Your daily routine (5 minutes): rinse, wash, dry
This is the maintenance step that prevents most smells from ever starting.
Step 1: Rinse right after you finish
As soon as you’re done for the day (or after a workout), empty the bottle and rinse the bottle, lid, and straw with warm water. The faster you rinse, the less residue sticks.
Step 2: Wash with warm, soapy water
- Add a few drops of dish soap to warm water.
- Use a bottle brush for the interior.
- Use a straw brush for the inside of the straw (run it through a few times).
- Scrub the mouthpiece/bite valve area and the underside of the lid.
Tip: If your lid has removable parts (like a straw, valve, or gasket), pop them out during the wash. A quick disassembly now saves you from a bigger deep-clean later.
Step 3: Rinse thoroughly
Rinse until there are no soap bubbles or slickness left—especially inside the straw.
Step 4: Air dry completely (this matters)
Let everything dry with airflow:
- Stand the bottle upside down on a drying rack (or on a clean towel).
- Set the lid upside down so water can drain out of channels.
- Lay the straw and gasket separately so they dry fully.
Most recurring odor issues happen because parts get reassembled while still damp.
Your weekly deep-clean (choose one option)
Once a week, do a deeper clean focused on the hidden areas: straw, gasket, bite valve, and lid grooves. Pick the method that fits your bottle and your week.
| Deep-clean option | Best for | Time | What to watch for |
|---|---|---|---|
| Dishwasher (if safe) | Easy weekly reset for bottle + lid parts | 1 cycle | Only do this if your bottle/lid is labeled dishwasher-safe; small parts can get lost |
| Cleaning tablet soak | Odor removal and residue inside straw | 30 min–overnight | Follow tablet label directions; rinse very thoroughly |
| Vinegar soak | Light odor and buildup | 15–30 min | Strong vinegar smell can linger briefly; rinse and air out |
| Baking soda scrub/soak | Deodorizing without harsh smells | 15–60 min | Needs a good rinse so grit doesn’t remain in lid channels |
Option A: Dishwasher deep-clean (if your bottle is dishwasher-safe)
- Disassemble the bottle: remove straw, bite valve/mouthpiece, and gasket if removable.
- Place small parts in a dishwasher basket if you have one.
- Run a normal cycle.
- Air dry everything fully before reassembling.
If you can’t confirm dishwasher safety for your specific bottle and lid, use one of the soak options below instead.
Option B: “Tablet soak” deep-clean (great for lingering smell)
This is where denture tablet water bottle cleaning (or any bottle-cleaning tablet labeled for drinkware) is popular: tablets can help lift residue from hard-to-reach spots.
- Fill a basin or large cup with warm water.
- Add a tablet according to the package directions.
- Soak the bottle, lid pieces, straw, and gasket. (If you’re fighting odor, give it longer—up to overnight—if the label allows.)
- Scrub after soaking (especially the straw and lid grooves), then rinse thoroughly.
- Air dry completely.
Option C: Vinegar + water deep-clean (simple pantry method)
- Mix equal parts white vinegar and warm water in the bottle.
- Add the straw and lid parts to the same solution (or soak them in a cup).
- Soak 15–30 minutes.
- Scrub with bottle/straw brushes, rinse thoroughly, then air dry.
This is a good choice when the bottle is generally clean but smells a little “stale.”
Compare before you buy
Check colors, sizes, and current price
Availability and colors can change, so it is worth checking the live Amazon listing before you decide.
Option D: Baking soda deodorize (good for stubborn funk)
- Add 1–2 teaspoons of baking soda to warm water in the bottle.
- Soak parts 15–60 minutes.
- Scrub, rinse very well, and air dry fully.
How to clean a water bottle straw (the inside is the real job)
If you’re specifically searching how to clean water bottle straw, focus on these points:
- Use the right brush size. The brush should fit snugly so it actually scrubs the inside walls.
- Scrub both directions. Run the brush through, pull it back, then repeat.
- Rinse the straw longer than you think. Soap can cling inside.
- Dry it completely. Stand it upright or lay it on a clean towel so air can pass through.
If you use your bottle every day, consider keeping a spare straw and gasket set so you can rotate parts while one set dries completely. If you’re looking for a daily-use straw bottle, you can see the Hyeta bottle’s current price on Amazon.
Don’t forget the gasket: how to clean a water bottle gasket (O-ring)
To clean water bottle gasket parts well:
- Remove the gasket/O-ring (if it’s designed to come out).
- Wash it in warm, soapy water and gently scrub with a soft brush or cloth.
- Rinse thoroughly.
- Let it air dry completely before putting it back.
Replace it if: it stays smelly after deep-cleaning, feels stretched, looks cracked, or no longer seals well. Worn gaskets can contribute to both leaks and odor because they hold residue and moisture.
Mold/odor triage: what to do when something looks wrong
Seeing or smelling something off can be stressful—especially with a straw. Here’s a practical, non-medical approach.
If you see black spots in the straw or bite valve
Searches for water bottle straw mold often describe dark specks or spots inside the straw. Because you can’t always confirm what a spot is by sight alone, take the cautious route:
- Disassemble immediately. Remove straw, bite valve, and gasket.
- Do a deep-clean soak (tablet soak is often the easiest for inside-the-straw cleaning), then scrub with a straw brush.
- If spots remain after scrubbing, replace the straw/mouthpiece. It’s usually not worth trying to “save” a part you can’t fully verify is clean.
- If the bottle itself has visible buildup you can’t remove, consider replacing the bottle.
When to replace vs. salvage: If the part is inexpensive to replace and hard to scrub (like a straw or bite valve), replacement is often the simplest and most hygienic choice.
If your bottle smells even after washing
To remove smell from water bottle, work through this checklist:
- Check the lid channels (use a small brush for grooves).
- Deep-clean the straw (brush + soak).
- Remove and clean the gasket (and let it dry completely).
- Air it out: leave the bottle open overnight so odors dissipate.
- Change what you store: flavored drinks, pre-workout, and smoothies can leave stronger residue—wash those bottles same-day.
Tools that make this routine easy
- Bottle brush: for the bottle interior.
- Straw brush: essential for actually cleaning inside the straw.
- Small detail brush (or a clean, dedicated soft toothbrush): for lid grooves and threads.
- Spare gaskets/O-rings: helpful for rotating parts and replacing worn seals.
- Drying rack or clean towel: for true air drying (especially straw and gasket).
FAQ
Is bleach safe to clean a water bottle with a straw?
Some people use a very dilute bleach solution for sanitizing food-contact items, but safety depends on using the correct dilution, following product label directions, and rinsing extremely thoroughly. Because straw lids have small channels that can hold liquid, many people prefer soap + a brush and an occasional tablet/vinegar/baking-soda deep-clean instead. If you choose bleach, follow the label exactly and don’t mix it with other cleaners.
How often should I deep-clean my straw bottle?
A good baseline is weekly deep-cleaning plus a daily wash/rinse routine. If you drink anything besides water (especially sweet or flavored drinks), deep-clean more often.
Why does my bottle smell again right after cleaning?
The most common cause is moisture trapped in the straw, gasket, or lid channels. Disassemble and air dry completely before reassembling. Also make sure you’re scrubbing inside the straw (not just rinsing it).
Can I just soak without scrubbing?
Soaking helps loosen residue, but it doesn’t always remove film from inside the straw or lid grooves. For best results, soak then scrub with the right brushes.
Conclusion: the no-funk weekly routine
If you want a straw bottle that stays fresh, the formula is simple: daily warm, soapy wash + weekly deep-clean + fully dry every part before reassembly. Focus on the straw, bite valve, gasket, and lid channels—because that’s where odor and residue like to hide.
And if you’re setting up a hydration routine for work, gym, or travel and want an easy-to-use straw bottle, you can check the Hyeta 32oz water bottle with straw on Amazon.